 The first time you start Spybot-S&D, it will display a Wizard, a
small window helping you through the first steps. It gives you the possibility
to add or remove the icons you have or haven't created during install, for
example. Lets just say you want them and procede to the next page.
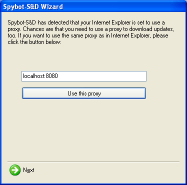
If you are using a proxy in Internet Explorer, Spybot-S&D will show you this proxy and a button will give you the opportunity to use it for Spybot-S&D, too. If the text field is blank, you don't need to do it, but in most cases this will show an internet address, and you should import this proxy setting. The next page deals with updates. It is very important to keep up-to-date. Using the two buttons this page offers will do the updates for you, if you want to do it at a later point, use the update feature in the Spybot-S&D section. The last page of the wizard will ask you to read the help file. It looks like you are already doing this :) |
 After the tutorial has finished, you may find yourself on the Settings
or Update page. As the default settings are ok right now, and you've
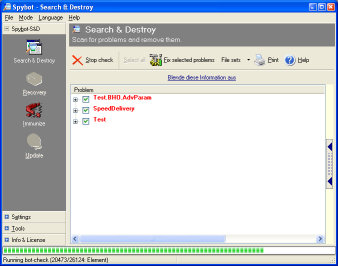
already updated, lets ignore them for now and do the first scan.
 At this point, you could just jump to the last point, and remove the results. Instead
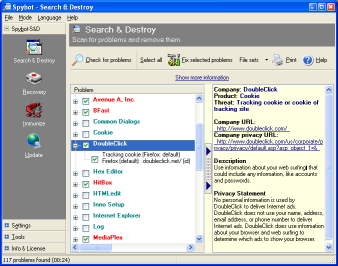
we recommend that you first have a look at what all the stuff is that
Spybot-S&D detected. The first thing you should know is to distinguish
between the red entries, which represent